Placing Lane Control Panel
The Lane Control Panel is a special rectangular panel tool that simplifies the design and editing of the R3-8 signs. Before creating an R3-8 sign from scratch, please refer to the appropriate state or federal standard to see if it already exists. For example, the Texas and Minnesota standard sign libraries already have many pre-made variations of these signs available.
Workflow
- Select the Place Lane Control Panel tool. A small crosshair cursor identifies where the lower left corner of panel will be located.
- The Place Lane Control
Panel dialog appear showing default parameters for the panel.
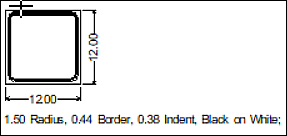
Settings Description General Allows you to select the type of sign, color, and template to use on the new panel. Size Allows you to select the size of the new panel and if you want the row or column to fit. The width or height of another panel when joined together as a multi-panel. Border Allows you to select the setting for the borders, if you want 1 or 2, color, if you want to trim the corners, and size automatically once you place a new element on the panel. Spacing Allows you to select the spacing method to be used on the panel. Attributes Allows you to assign attributes to the new panel that display in the object list below the sign.
Appearance Allows you to set the panel spacing for the elements that you are going to place in the panel. - Left-click the mouse button, pick a point in the lower left quadrant of the screen and press OK, the panel will appear on the screen.